Radiography testing

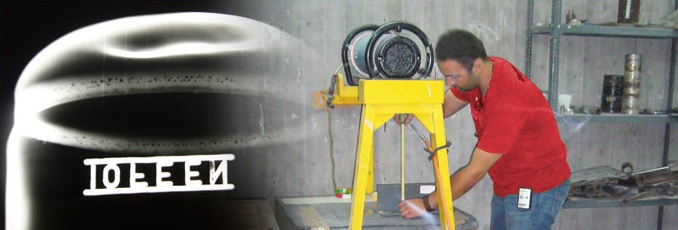
Radiography testing is used for recognition internal defects in materials with very complex shapes. A radiographic film is placed behind the sample and by transmitting of x or gamma ray, the sample is radiated. The intensity of the x or gamma ray when transmitting through the workpiece is changed based on the internal structure of the sample and after processing the radiated film, there is a shadow image from the sample called radiograph. The radiograph is then interpreted to gain information about the defects inside the workpiece. This method is used on a wide range of forging, casting and welding products. Some advantages of this method are:
- Simultaneous inspection of large areas
- Suitable for wide range of materials
- Usable for inspection of internal structure, assembly or alignment
- Offering permanent document
- Does not need calibration at work
- Enough equipment to evaluate the quality of radiography
- Suitable condition to interpreting the radiography.
Some limitations are:
- X and gamma ray are harmful to human health
- Planar defects can’t be recognized easily
- Access to both sides of the sample is needed
- The range of thickness is limited
- Some areas can’t be radiographed because of geometric conditions
- It’s expensive
- The depth of the discontinuity can’t be detected
- An skillful person is needed to interpret the radiographs.

